

Let’s be honest there’s something about freshly painted nails that just makes you feel more put together, even if you’re wearing pajamas last night’s and typing away on your laptop but here’s the thing Salons are expensive and sometimes? I just don’t have the patience to sit in that chair for an hour while someone chats on the phone next to me that’s exactly why I perfected my own manicure at home routine and today I’m sharing every single step.
No fancy training. No expensive tools. Just real, practical stuff that works for Indian skin and nails especially if you live in a place with hard water or dry winters.
So grab your nail file put on some music and let’s get those hands looking pretty again.
Reason You’ll Love Doing Your Own Manicure
Honestly!! Not just about saving money there’s something really therapeutic about taking 20 minutes for yourself no phone no rush just you your nails and a little bit of self-care. Plus when you do it yourself you control everything the products the pressure on your cuticles and how many coats of that gorgeous nail color you want.
And trust me. Once you get the routine right, people will genuinely ask, “Which salon do you go to?”
What You’ll Need (Simple Indian Household + Moraze Goodness)
You don’t need a dozen products. Here’s my exact setup:
-
Nail file (the softer one, not the metal one)
-
Warm water + a drop of gentle soap
-
Cuticle pusher (wooden orange stick works great)
-
A gentle scrub (face or body scrub is fine)
-
Good moisturizer or hand cream
-
Moraze Nail Polish Remover (Rows 281-285 – yes, the one that doesn’t stink up your room)
-
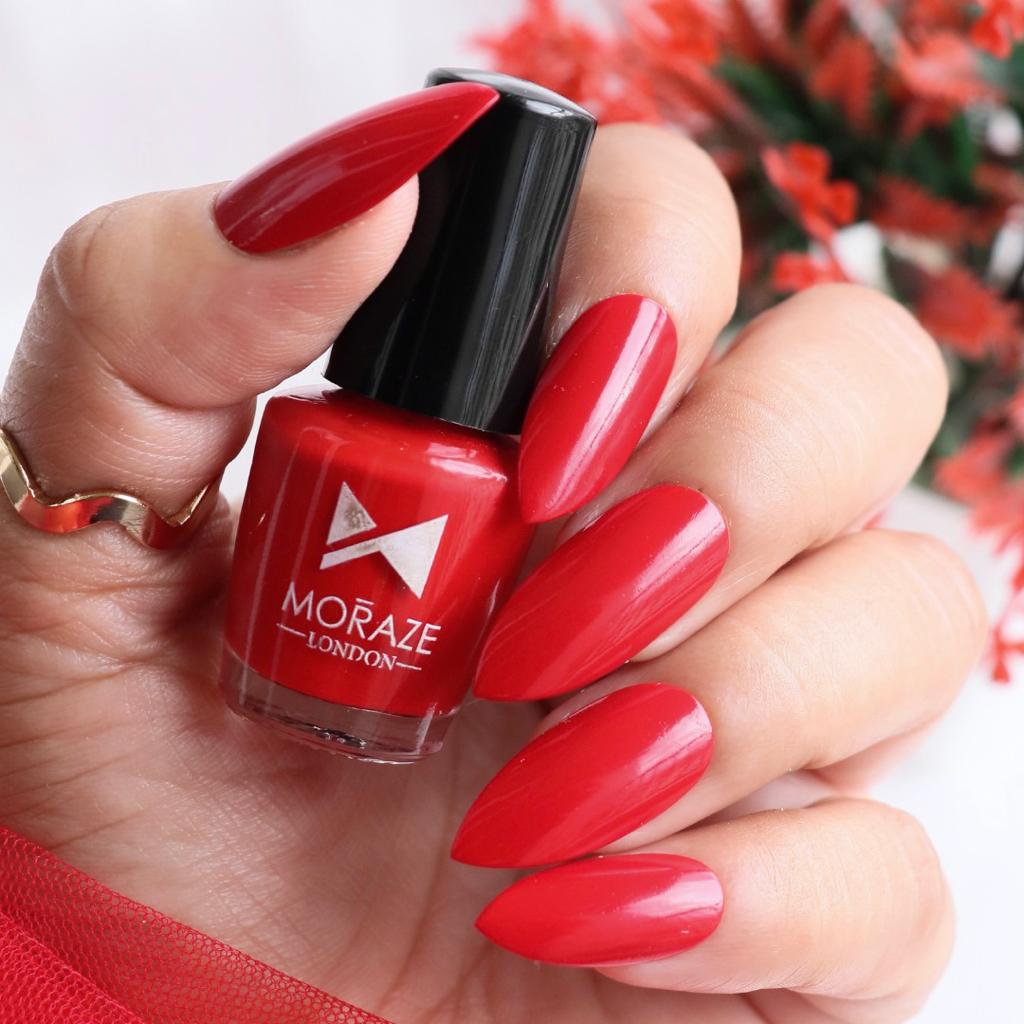
Moraze Neon Pack with Top Coat (Row 234 – this is my current obsession)
-
Base coat (clear polish works too)
-
Your favorite nail polish color
-
Top coat from the Neon Pack
See? Nothing crazy.
Step-by-Step Home Manicure Routine That Actually Works
I’ve made mistakes. Chipped polish within hours. Cuticles that looked worse than before. So trust me when I say — follow these steps in this exact order.
Step 1 – Remove Old Polish the Right Way
First things first. Take that Moraze Nail Polish Remover (Rows 281-285) and gently wipe off any old color.
Why am I specific about this? Because cheap removers dry out your nails like crazy. This one? Much gentler. And the smell won’t make your eyes water.
Pro tip: Don’t scrub. Just press the cotton pad for a few seconds, then wipe. Less friction, healthier nails.
Step 2 – Shape Your Nails (No, Not Aggressively)
Now take your nail file.
Shape karo – but gently. File in one direction only. Back-and-forth motion weakens the nail edges over time.
I personally love a soft squoval shape (half square, half oval). It’s practical, looks neat, and doesn’t break easily.
And hey — don’t obsess over perfection here. Nails are sisters, not twins. 😉
Step 3 – The Warm Water Soak (So relaxing)
Fill a small bowl with warm water + a tiny squirt of soap.
Soak your nails for about 5 minutes. Not 15. Too much soaking can actually dry out your nails later.
This step softens your cuticles and makes the next part so much easier.
Honestly? This 5 minutes is my favorite part. I just sit back and stare at the ceiling guilt-free.
Step 4 – Push Your Cuticles (Don’t Cut Them!)
Okay, this is important.
Cuticles push karo – gently. With a wooden stick or a rubber-tipped pusher.
But please, please, please — cuticles cut mat karo.
I’ll say it again. Do NOT cut your cuticles at home. That little flap of skin is there to protect your nails from bacteria. Cut it, and you’re inviting infection, redness, and pain.
Step 5 – Gently Scrub Away Dry Skin
Now that your hands are softened up, it’s time to get rid of all that dry, flaky skin sitting around your nails and knuckles.Take a little scrub — honestly, even a simple sugar and coconut oil mix from your kitchen works perfectly — and massage it gently onto your hands. Focus a bit more around the sides of your nails because that area usually gets rough without us even noticing.Nothing aggressive here. Just soft circular motions for a minute or so.Once done, rinse your hands and pat them dry with a towel. Your skin should already feel smoother at this point.
Step 6 – Moisturize Properly
This step makes a bigger difference than people think.After washing and scrubbing, your skin absorbs moisture much better. So don’t skip this part and definitely don’t rush it.Apply a good hand cream or a few drops of oil and massage it into your hands properly — between the fingers, around the nails, even the knuckles. Most people forget those areas and then wonder why their hands still look dry.Give it 2–3 minutes before applying nail polish.Your hands should feel soft and hydrated, not greasy.
Step 7 – Base Coat First (Seriously, Don’t Skip It)
Okay, now comes the actual nail prep before color.Apply one thin layer of base coat. It might feel like an unnecessary extra step, but it genuinely helps. Your nails stay protected, the polish applies more evenly, and the color lasts longer without chipping too quickly.Especially with bright shades from the Moraze Neon Pack, a base coat helps prevent staining too.And yes — let it dry fully before moving ahead.Trying to rush this step usually leads to bubbles, smudges, or that weird uneven texture nobody wants.
Step 8 – Apply Your Nail Color
This is where everything starts coming together.The biggest mistake people make? Applying one thick coat hoping it’ll dry faster.It won’t.two thin coats always look cleaner and last better.Start with the first layer using slow, even strokes. Don’t overwork the brush. Let that dry for about 2 minutes before going in with the second coat.And don’t stress if the edges near your cuticles aren’t perfect right away. Almost nobody gets salon-level precision on the first try.You can always clean the extra polish later using a small brush or even an earbud dipped lightly in remover.
Step 9 – The Game Changer: Top Coat
This is the step most people skip. And then they wonder why their polish chips in two days.
Apply the top coat from the Neon Pack (Row 234). This locks everything in, adds insane shine, and literally doubles the wear time.
Pro tip: Also “cap” the free edge — run a tiny bit of top coat along the very tip of your nail. That seals the deal.
Step 10 – Let It Dry. Really
I mean it.
Don’t touch your phone. Don’t pick up that water bottle. Just sit.
Wait at least 10-15 minutes. If you’re impatient (same), use quick-dry drops or dip your nails in ice-cold water for a minute.
Now admire. Click a photo. Show your friends. You earned it.
Common Mistakes That Ruin a Home Manicure
Let me save you the struggle.
-
Skipping base or top coat – Biggest mistake ever. Your polish won’t last.
-
Thick coats – They take forever to dry and peel off in one sheet.
-
Cutting cuticles – Pain, infection, swelling. Not worth it.
-
Not moisturizing – Dry cuticles make any manicure look messy.
-
Using old nail polish – If it’s thick or stringy, toss it. New polish applies 10x better.
How Long Will This Manicure Last?
With this exact routine — especially using the Moraze Neon Pack with Top Coat — easily 5 to 7 days without chipping.
If you wear gloves while doing dishes and avoid picking at stickers (guilty), you might even stretch it to 10 days.
Final Thoughts
Look, I’m not a pro. I’m just someone who got tired of paying ₹800 for a basic manicure that chips by day three.
Doing your own manicure at home isn’t hard. It just needs a little structure and the right products. And honestly? That quiet 20 minutes of doing something pretty for yourself? That’s the real win.
So next Sunday, skip the salon. Make some chai. Put on your favorite playlist. And give this home manicure routine a try.
Your nails will thank you. Your wallet will too.
FAQ Section
1. Can I do a manicure at home without professional tools?
Definitely.
You really don’t need one of those giant salon kits to make your nails look clean and polished at home. A basic nail file, an orange stick, a simple homemade scrub, and a good nail polish set like the Moraze Neon Pack are honestly enough for most people.
The technique matters way more than expensive tools.
2. Is cutting cuticles at home actually harmful?
Most of the time, yes.
Cuticles protect the area where your nail grows from, so cutting them too aggressively can lead to irritation, tiny infections, or swelling around the nail bed. And once that area gets damaged repeatedly, nails can start growing unevenly too.
A safer option is just softening them first and gently pushing them back. That’s more than enough for a clean manicure look.
3. How can I make my nail polish last longer?
A few small habits make a huge difference.
Always start with a base coat, apply two thin layers of color instead of one thick one, and finish with a good top coat. The top coat included in the Moraze Neon Pack helps seal everything properly and adds shine too.
Also, don’t forget to lightly brush polish across the tip of the nail — that tiny step helps prevent early chipping.
4. Can men follow this manicure routine too?
Of course.
Healthy nails and clean hands aren’t gender-specific. A simple manicure keeps nails neat, cuticles clean, and skin around the hands softer.
And if nail color isn’t your thing, you can stop at the buffing and moisturizing stage. Even that alone makes hands look much more well-groomed.
5. How often should I do a manicure at home?
Once a week works really well for most people.
You don’t need a full routine every few days. In between, just keep your hands moisturized and gently push back cuticles whenever needed.
That alone keeps your nails looking maintained without much effort.
6. Which Moraze products are good for beginners?
If you’re just starting, keep it simple.
The Moraze Nail Polish Remover range (Rows 281–285) is easy to use and helps remove polish without making the process messy. Pair that with the Moraze Neon Pack and Top Coat (Row 234), and you’ve basically got everything needed for a beginner-friendly at-home manicure setup.
The shades are fun, the application feels smooth, and the routine doesn’t feel complicated at all.
